How to Brief a Hoodie Tech Pack (Fabric, Fit, Trims)
- Share
- publisher
- MontForge Sourcing Team
- Issue Time
- Sep 6,2026
Summary
How to brief a hoodie tech pack: the essential specs manufacturers need, hood, pocket and cuff options, artwork guidelines for print and embroidery, the sampling and approval loop, and common pitfalls.
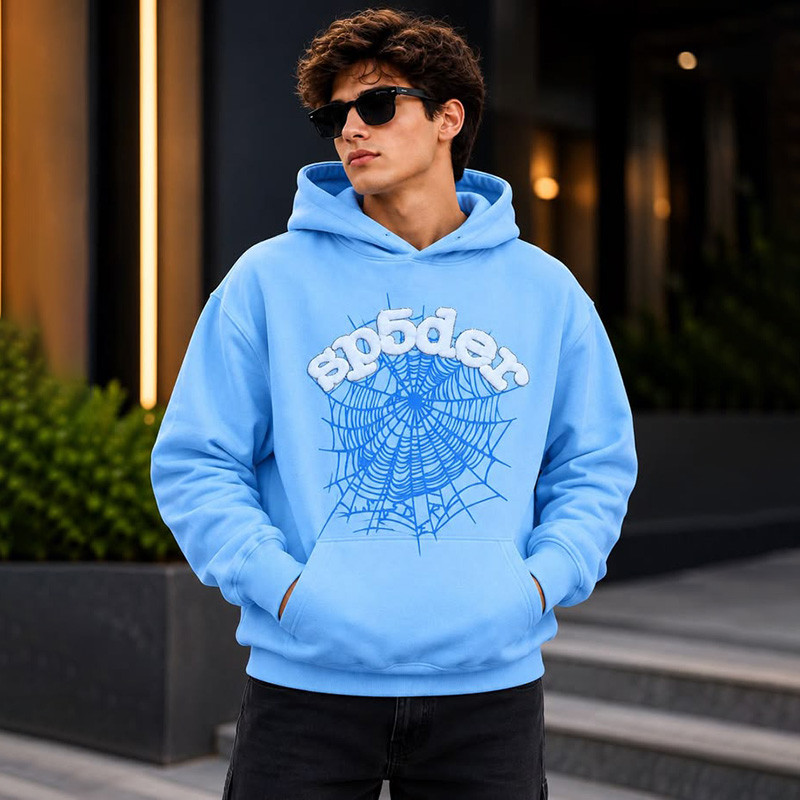
A hoodie is one of the most construction-heavy garments you can develop — a double-layer hood, a kangaroo pocket, drawcords, ribbed cuffs and a full size run all need precise specifications before a factory can quote or cut. The tech pack is the document that carries those decisions. This guide walks through the essential specs manufacturers need, the hood, pocket and cuff options to brief, artwork guidelines for print and embroidery, the sampling and approval loop, and the common pitfalls that turn a good hoodie brief into a bad sample.
The Essential Specs a Manufacturer Needs
A hoodie tech pack starts with the pages every factory reads first: a cover page with the style name, style code, season, version number and revision date; technical flat sketches of the front, back and side with detail callouts; and the fit intent stated explicitly (boxy, oversized, athletic or regular). Then come the specs that define cost and feel: fabric type (French terry, brushed fleece or loopback), composition (for example 80% cotton / 20% polyester), weight in GSM, and finish (enzyme wash, garment dye or untreated). Factories price from the fabric and construction you specify — a hoodie at 280 GSM is a completely different product from one at 380 GSM — so a vague tech pack invites substitution and surprises at the sample stage.
Measurement Charts and Grading
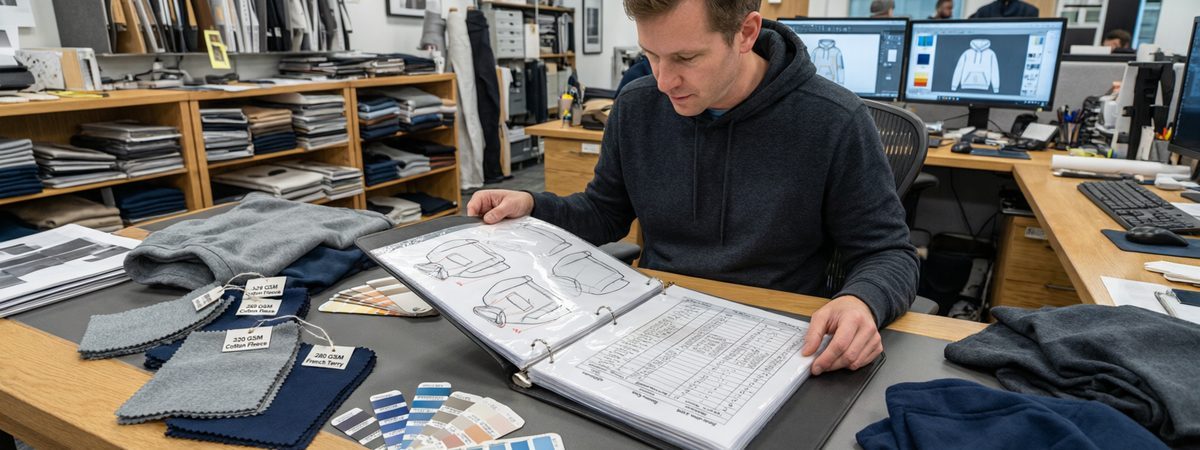
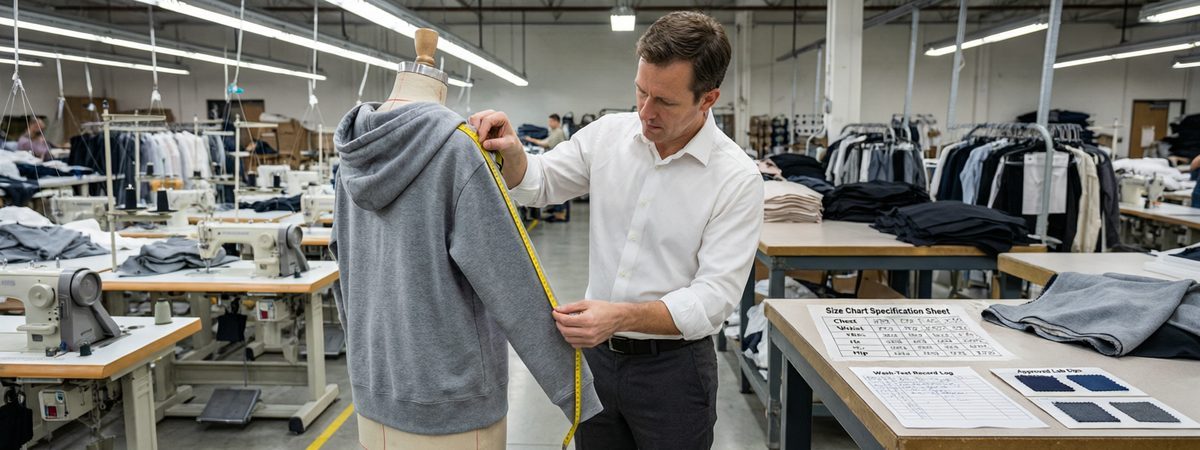
The measurement chart is where most brands get it wrong. List every point of measurement for the base size — chest width, body length, shoulder width, sleeve length, armhole, bicep, hood height and width, pocket width and height, rib width and neck opening — each with a tolerance of roughly ±1 cm. Add a grading sheet showing how measurements scale across S to XXL (for example +2 cm chest per size), because grading is what stops an M that fits from becoming an XXL that binds in the shoulders. State the measurement points as numbers with diagrams, not adjectives: "regular fit" means different things to a streetwear factory and a performance-wear factory, while 62 cm chest at M means the same everywhere.
Fabric Specifications: Type, GSM, Composition and Finish
Fabric is the single biggest cost and feel driver, so spec it completely. State the knit structure (French terry with unbrushed loops, brushed-back fleece, or interlock), the composition (100% cotton, 80/20 cotton-poly or a cotton-modal blend), the GSM (280 gsm for year-round basics, 320–380 gsm for heavyweight streetwear, 400+ gsm for premium statements), and whether the fabric is pre-shrunk. Add the finish — enzyme wash, garment dye or stone wash — because washing changes the hand-feel and the fit, and the pattern must be graded to the post-wash measurements. Attach a physical swatch and a lab dip against your Pantone reference so the factory cannot substitute a cheaper knit that looks close on screen but feels wrong in the hand.
Hood, Pocket and Cuff Options
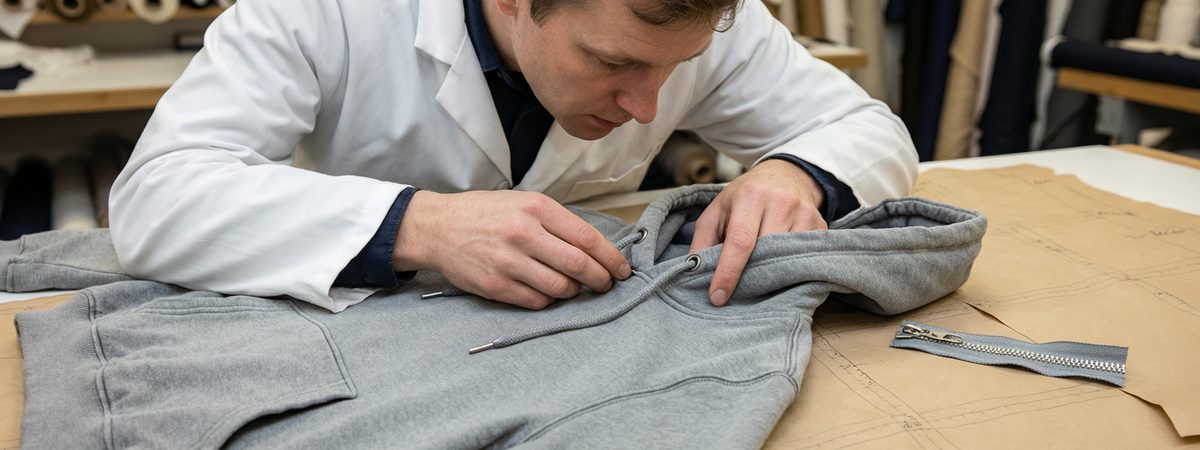
The hoodie's signature parts all need explicit choices. Hood: single or double-layer, with a drawcord (round or flat, roughly 8–12 mm, in a specified material and colour) and eyelets (metal in matte nickel or antique brass, or plastic). The double-layer hood holds its shape and supports the collar; a crossover or single-layer hood changes the silhouette entirely. Pocket: the kangaroo pocket is standard — spec its depth (roughly 10–14 inches on a heavyweight hoodie), its entry angle and whether it is single or double-lined, because a shallow or floppy pocket is the first complaint on a $100 hoodie. Cuffs and hem: 1×1 or 2×2 rib, typically with 5–8% elastane so they recover their shape wash after wash, and state the rib width. If it is a zip-up, name the zip: YKK #5 coil or #8 metal, and the exact finish — "metal zipper" is not a spec, because a shiny gold zip and a matte silver zip are very different garments.
Construction Notes and Seam Map
Tell the factory how to sew it, not just how it should look. Specify the stitch types — flatlock seams for a premium athletic hoodie, overlock for side seams, coverstitch for hems — and the stitch density, reinforcement points (shoulder seams, drawcord eyelets, pocket corners and cuff junctions all need bar tacks or double-needle stitching), and seam allowances. A flatlock seam and a plain overlock seam cost and feel completely differently; if the tech pack is silent, the factory uses the cheaper default. Number the construction notes to a seam map on the flat sketch so there is no ambiguity about which seam is which.
Trims: Labels, Drawcords and Packaging
List every trim and accessory in the bill of materials so nothing is left to interpretation. Neck label: woven damask, satin or a tag-less heat-transfer label; size label and care label content and placement; drawcord type, length and aglet finish (metal with a laser-engraved logo versus plain plastic tips); zipper brand, size and finish for zip-ups; and any branded eyelets or patch. Then add packaging: polybag type and size, hang tag design and attachment, folding method, and carton quantity. Small trims are cheap to specify and expensive to retrofit — a brand that writes "premium black aglets" and gets plastic tips has to reject or accept a compromise on the finished sample.
Artwork Guidelines for Print and Embroidery
Bad artwork is the cause of roughly 40% of rejected print files, and it is almost always a resolution or format problem. Provide vector artwork (.ai, .eps or .svg) for logos, text and line art — vectors scale infinitely without losing sharpness — and high-resolution raster (300 DPI at the actual print size) only for photographic designs. Convert to CMYK for print and provide Pantone (PMS) codes for brand colours; screens show RGB, which is why screen green never matches printed green without a PMS reference. For embroidery, expect to simplify: thread cannot render fine gradients or tiny text, so keep minimum detail around 0.25 inches and convert gradients to solid colour steps before digitising to a stitch file. Specify placement in inches from the high-point shoulder — front chest prints typically run 8–10 inches wide and full back prints 12–14 inches — and remember the kangaroo pocket limits how low a front print can sit.
Sampling and the Approval Loop
Sampling is a sequence, not a single event. Most hoodie programs move through four stages: the proto sample (7–14 days, roughly $65–120) proves shape and construction and may use substitute fabric; the fit sample (5–8 days) locks the measurements and proportions; a size set of one piece per size verifies grading; and the pre-production sample (PPS, 5–8 days, often free once bulk is confirmed) is made with the final bulk fabric, approved colours, real trims and the actual print or embroidery — it is the blueprint bulk must match. Between rounds, review the sample against the tech pack and send one clear, numbered feedback document with photos and exact measurement corrections; never approve bulk without a PPS, and never change the design after the PPS is approved. From tech pack to ship, plan roughly five to seven weeks.
Common Pitfalls to Avoid
Most hoodie briefs fail on a handful of repeatable mistakes. Sending low-resolution artwork or a renamed JPG instead of a vector file — resolution cannot be invented by upscaling. Using screen colours instead of Pantone codes. Leaving the fabric under-specified, which lets the factory substitute a cheaper or lighter knit. Writing "regular fit" instead of measurements. Specifying "metal zipper" without a finish. Designing over-complex graphics with fine lines and tiny text that embroidery cannot reproduce. And skipping the wash test — cotton-rich hoodies can shrink 3–5% untreated, so run the sample through the care cycle the customer will actually use before approving the fit. Fix these six and the sample will arrive looking like the tech pack, not like a guess.
MontForge Hoodie Development Support
MontForge develops custom hoodies for streetwear, CrossFit and teamwear programs, and we help brands at every stage of the brief. Send us your concept, reference images or a partial tech pack and we fill in the rest — fabric type, GSM and composition from our library, fit and grading for boxy, oversized or athletic silhouettes, construction notes and seam maps, and the hood, pocket, cuff, drawcord and label specs that finish a premium garment. Our sampling floor runs proto through PPS in roughly 7–15 days with wash-test review, and our low-MOQ model lets small brands sample and launch without a warehouse-sized commitment. Bring us a sketch; we will help you turn it into a tech pack a factory can follow.
Frequently Asked Questions
What must a hoodie tech pack include?
A cover page with style code and version, flat sketches front and back, fabric type, composition and GSM, a measurement chart with tolerances and a grading sheet, construction and stitch notes, colourways with Pantone codes, artwork placement and size, and trims, labels and packaging. More detail means fewer errors.
How do I specify the fabric so the factory does not substitute?
State the knit structure (French terry or brushed fleece), composition (for example 80/20 cotton-poly), GSM, pre-shrink status and finish, and attach a physical swatch and a lab dip against your Pantone reference. GSM changes the whole product: 280 gsm and 380 gsm are different hoodies.
What should the hood, pocket and cuffs spec say?
Hood: single or double-layer, drawcord type and length, eyelet material and finish. Pocket: kangaroo depth (roughly 10–14 inches), lining and entry angle. Cuffs and hem: 1×1 or 2×2 rib with 5–8% elastane and rib width. On zip-ups, name the zip brand, size and finish — "metal zipper" is not a spec.
What artwork files do factories need?
Vector files (.ai, .eps or .svg) for logos and text, or 300 DPI raster at actual print size for photographic work. Convert to CMYK and provide Pantone codes for brand colours. For embroidery, simplify to solid colour steps and keep detail above roughly 0.25 inches before digitising.
How many sample rounds should I expect?
A typical program runs proto sample (7–14 days), fit sample, a size set, and a pre-production sample (PPS) made with final fabric, colours and trims. Approve the PPS before bulk and never change the design after it. Plan roughly five to seven weeks from tech pack to shipment.
Ready to brief your hoodie properly? Send us your sketch or tech pack or browse MontForge custom hoodies — fabric, fit and trims spec'd together, with sampling support from proto to PPS.