Sportswear Size & Fit Guide for Custom Activewear Brands
A practical guide to building a reliable activewear size chart, defining product-specific fit, and turning your sizing decisions into production-ready patterns for global markets.
How to Read a Sportswear Size Chart
A sportswear size chart is not just a list of XS, S, M and L. It is the visible output of a sizing system that connects a target wearer, a garment pattern, a fabric and a specific movement requirement.
For a brand, the most useful size chart separates the measurements of the wearer from the measurements of the finished garment. It also explains how to measure, which unit to use, where the garment is measured and what level of tolerance is acceptable in production. This is particularly important when a collection includes both relaxed hoodies and close-to-body performance products.
Men’s Activewear — Reference Body Size Chart
Use this illustrative starting chart when discussing an adult men’s activewear range. All values are body circumferences in centimetres, not finished garment dimensions. This is a proposed reference, not a universal industry standard or an approved MontForge production specification.
| Size | Chest (cm) | Waist (cm) | Hip (cm) |
|---|---|---|---|
| XS | 84–89 | 69–74 | 84–89 |
| S | 90–95 | 75–80 | 90–95 |
| M | 96–101 | 81–86 | 96–101 |
| L | 102–107 | 87–92 | 102–107 |
| XL | 108–113 | 93–98 | 108–113 |
| 2XL | 114–119 | 99–104 | 114–119 |
Measure the fullest chest, natural waist and fullest hip with the tape level. For inches, divide centimetres by 2.54. Review the target wearer, length requirements and size coverage before approving a project chart. If measurements span different sizes, review the product’s main fit points with the development team.
What a project size chart should contain
A custom size chart needs approved measurements for a specific product, wearer and fabric. Use the following specification structure when preparing your brief.
| Chart field | What to define | Why it matters |
|---|---|---|
| Product and fit | Style, fabric, intended fit and activity | The same size label can have different finished measurements across products. |
| Measurement basis | Body circumference or finished garment dimensions | A flat half-chest width must not be read as a body circumference. |
| Size range and base size | Commercial size labels and the development reference size | Approve the base fit before validating the graded range. |
| Measurement points and units | Illustrated measuring method, cm or inches | Keep brand, sample room and inspection measurements consistent. |
| Grade rules and tolerances | Size increments and allowed variation at each measurement point | Document the production requirements for each size. |
Body Measurements vs. Garment Measurements
The two measurement systems answer different questions. Body measurements describe who the garment is intended to fit; garment measurements describe what the factory is expected to produce.
Body measurement points
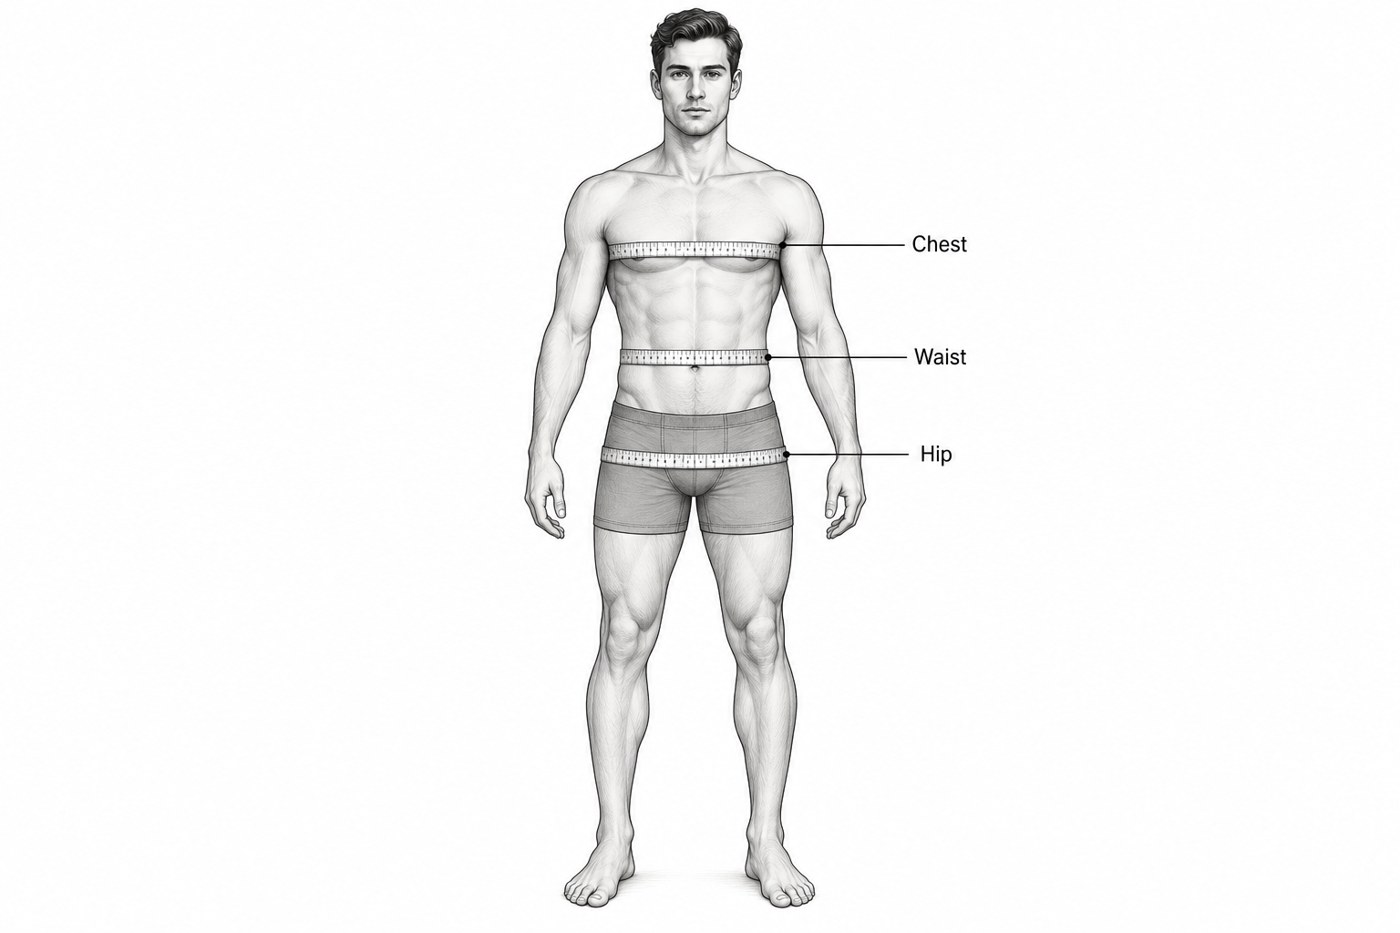
Keep the tape level around the body. Stand naturally and measure without pulling the tape tight.
Finished garment measurement points
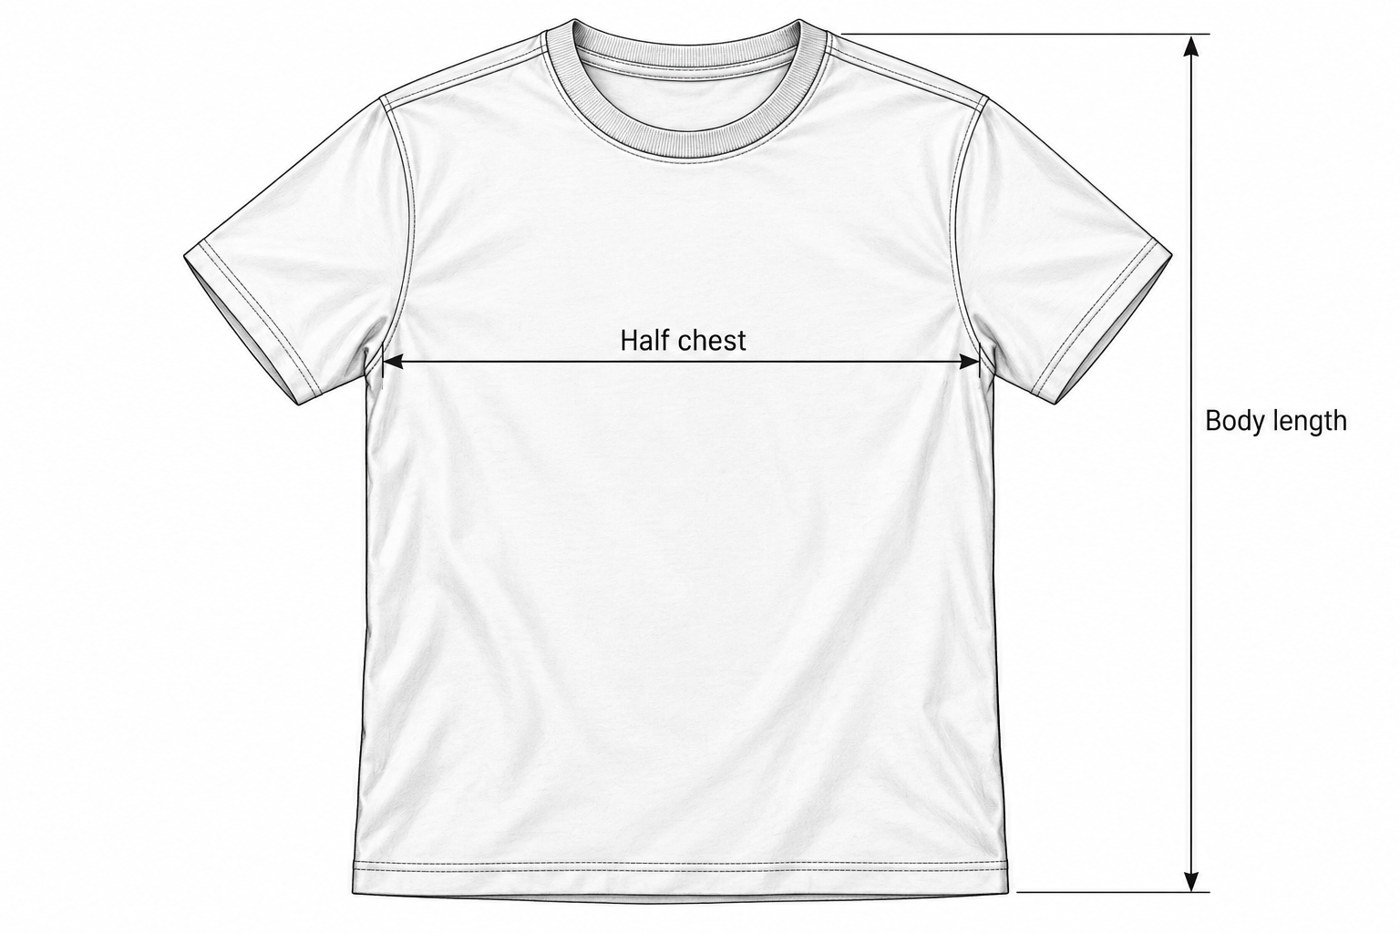
Lay the garment flat without stretching it. Half-chest width and body circumference are different measurements; define each point in the tech pack.
Body Measurements
Use body measurements to define the customer range for the target market. Typical points include chest, waist, hip, shoulder, arm length, inseam and height. The measuring method should state where the tape sits, whether the wearer is standing naturally and whether the measurement is taken in centimetres or inches.
For an inclusive range, review more than one body proportion. A simple overall scale-up may not solve differences between chest, waist, hip and height.
Garment Measurements
Use garment measurements to control the finished product. Typical points include chest or bust width, body length, shoulder width, sleeve length, hem, waistband, hip, thigh, knee, leg opening and inseam.
The finished measurement must reflect fabric stretch, recovery, construction, ease and the movements required by the garment.
Ease, tolerances and movement
A Regular Fit may include positive ease for everyday movement. A Slim Fit usually uses less ease while preserving functional mobility. A Relaxed Fit may need additional space for layering, while a Compression Fit can use negative ease in combination with controlled stretch. These are development decisions, not universal size rules.
| Measurement layer | What it controls | What to document in the tech pack |
|---|---|---|
| Body measurement | The intended wearer range. | Measuring method, body points, unit and target market. |
| Garment measurement | The finished product dimensions. | Measurement point, measuring method, base size and grade increments. |
| Ease / stretch | How the garment behaves in wear. | Fit intent, fabric composition, stretch direction and recovery expectation. |
| Tolerance | Acceptable production variation. | Critical points, standard points and inspection method. |
Sportswear Fit Types Explained
Fit is the relationship between a garment and a moving body. The label should communicate a clear intent, while the pattern, fabric and sample must prove that intent in use.
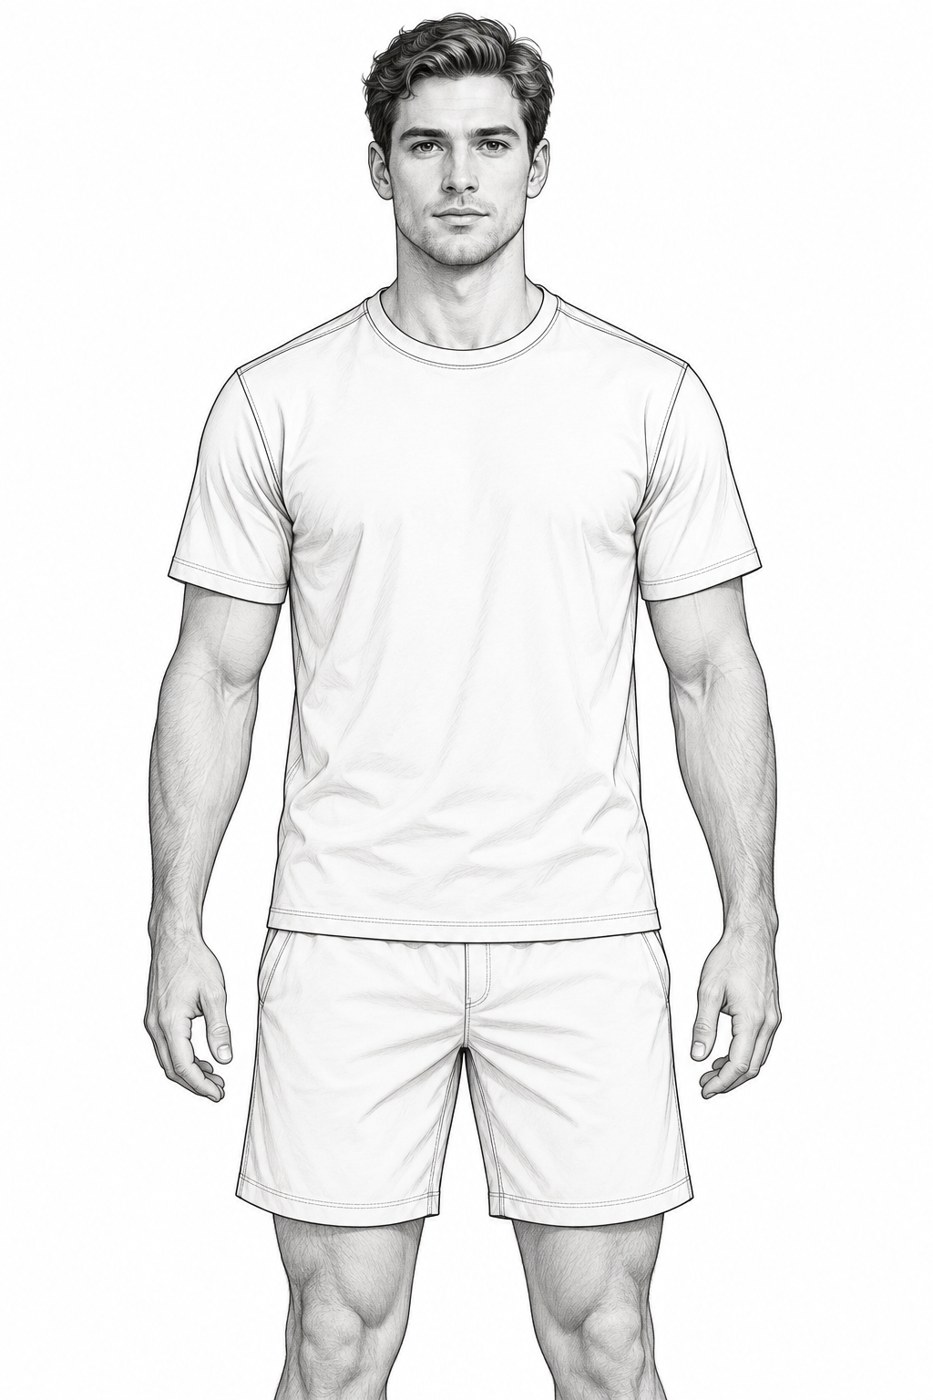
Regular Fit
A Regular Fit keeps a balanced silhouette with enough room for ordinary training, daily wear and light layering. For T-Shirts, Long Sleeve & 1/4 Zips and lightweight jackets, review shoulder balance, chest ease, body length and arm movement.
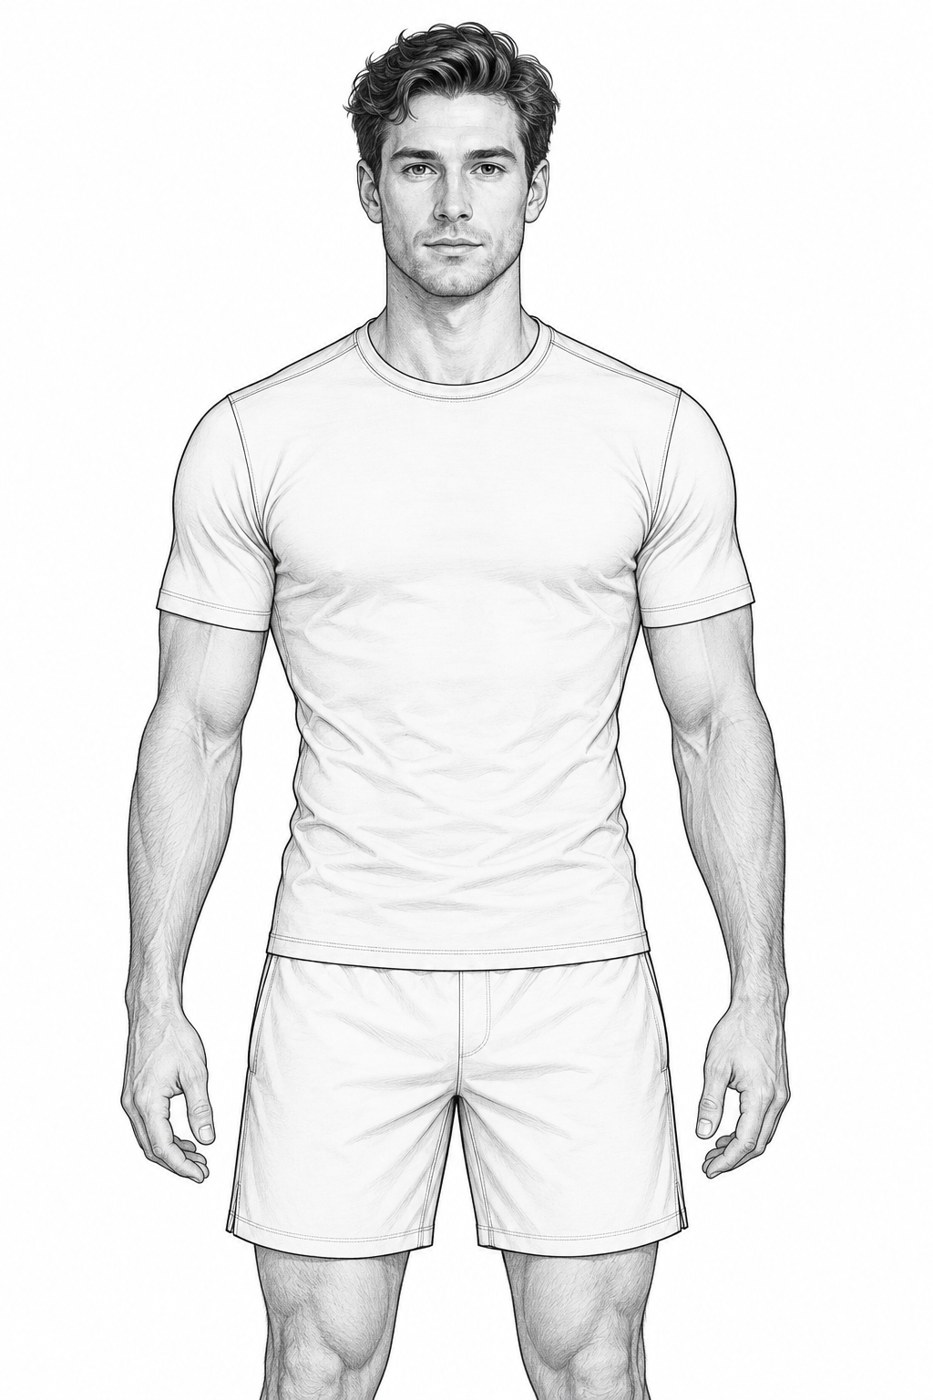
Slim Fit
A Slim Fit follows the body more closely without becoming a compression garment. It is useful for performance T-Shirts, training tops and modern Joggers & Pants. Validate chest movement, underarm pull, fabric recovery and comfort across the intended body range.
Relaxed Fit
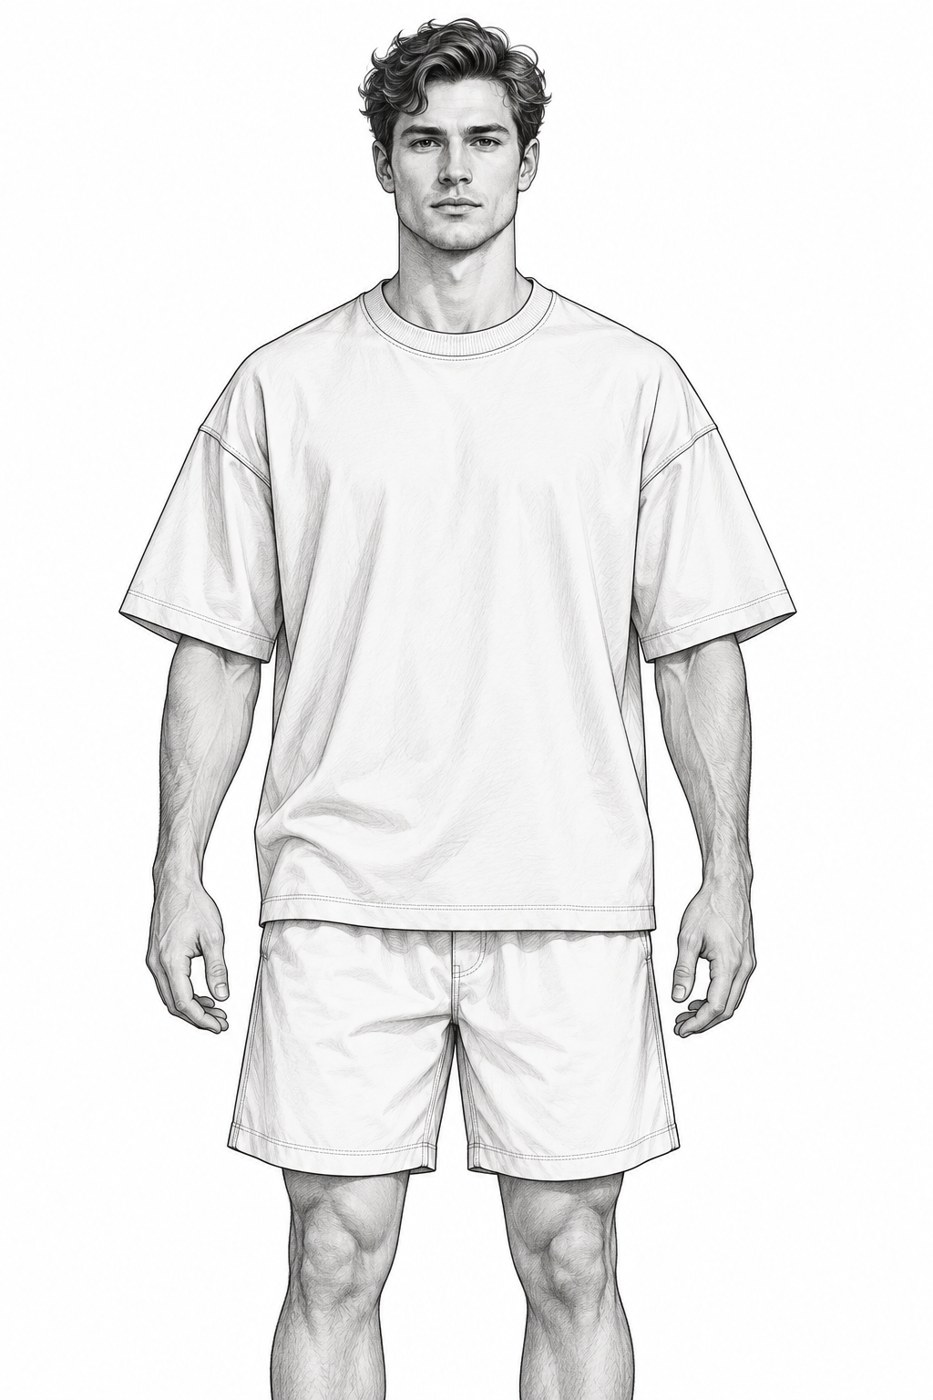
A Relaxed Fit provides greater volume for movement, casual styling and layering. It suits Hoodies, Tracksuits & Sweatsuits, selected Windbreakers and lifestyle Joggers. Pay attention to shoulder slope, sleeve volume, hem control and the total volume of the outfit.
Compression Fit
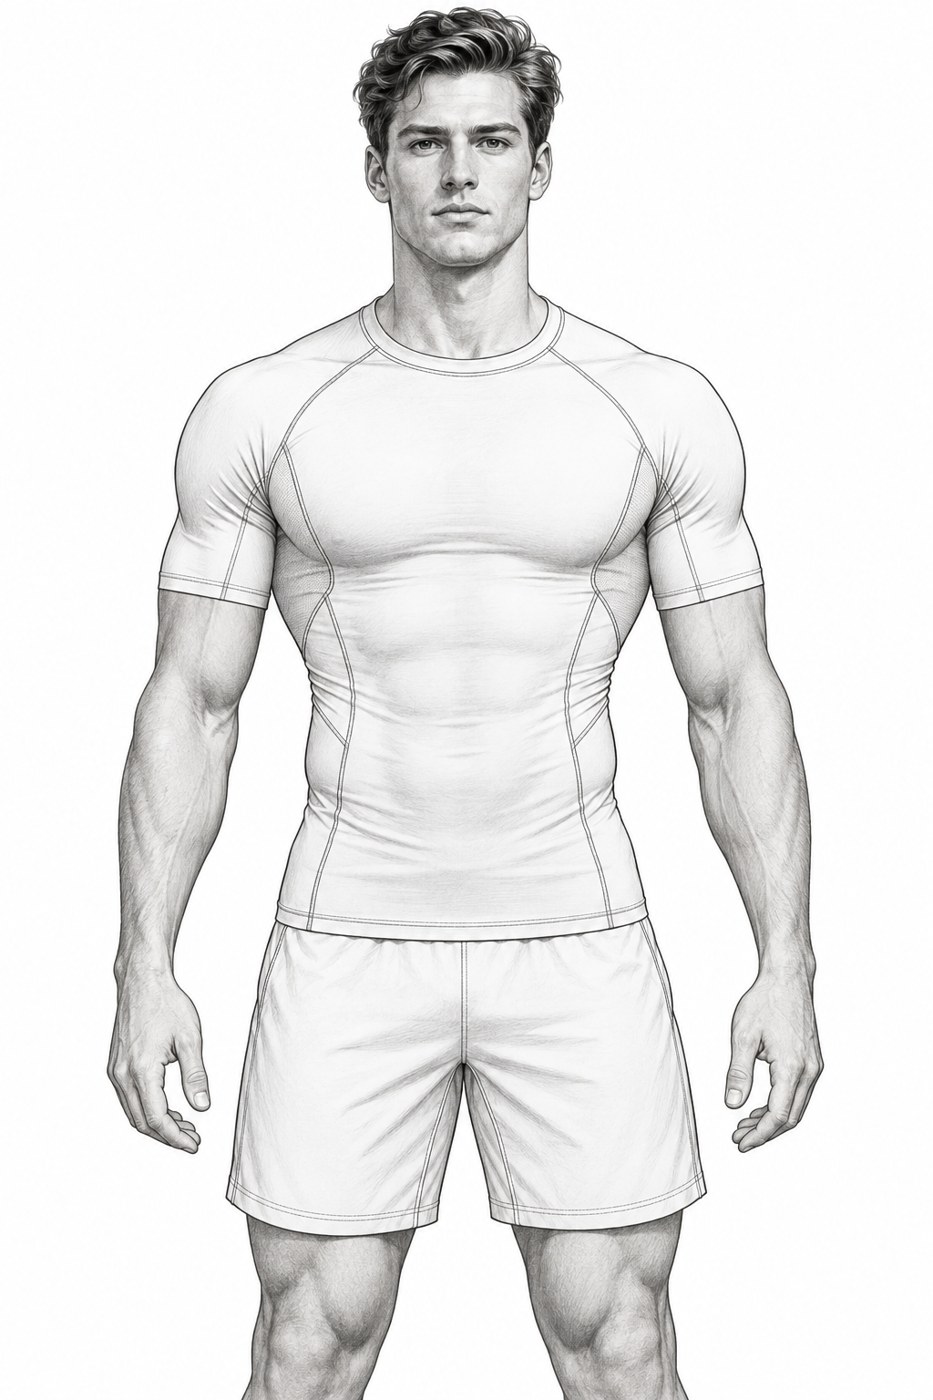
A Compression Fit uses close-to-body construction and high-stretch fabric to create stable coverage and support. It is common in Compression Tights and compression tops. Pressure distribution, stretch and recovery, gusset structure and movement testing matter more than simply choosing a smaller label size.
Product-Specific Size & Fit Guide
The correct sportswear sizing approach changes with the product. Use the product category, fabric behaviour and sport scenario together when building a size chart or reviewing a supplier’s existing one.
T-Shirts
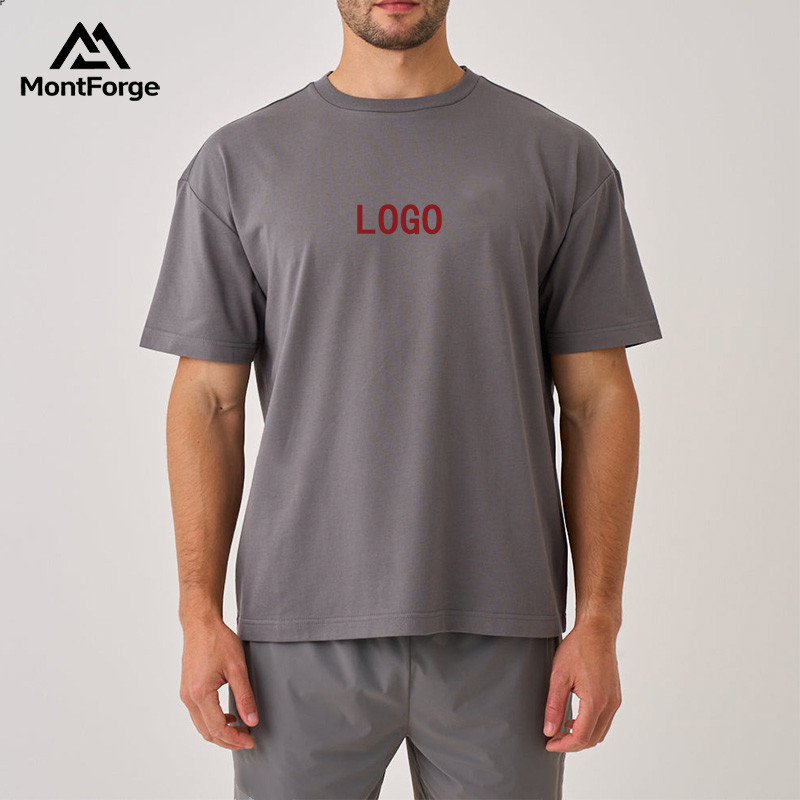
Control chest, shoulder, body length, sleeve length and hem. A cotton-blend lifestyle T-Shirt may need a different ease profile from a quick-dry four-way-stretch training tee. Test whether the hem rises during running and whether the underarm remains comfortable during reaching.
Tank Tops
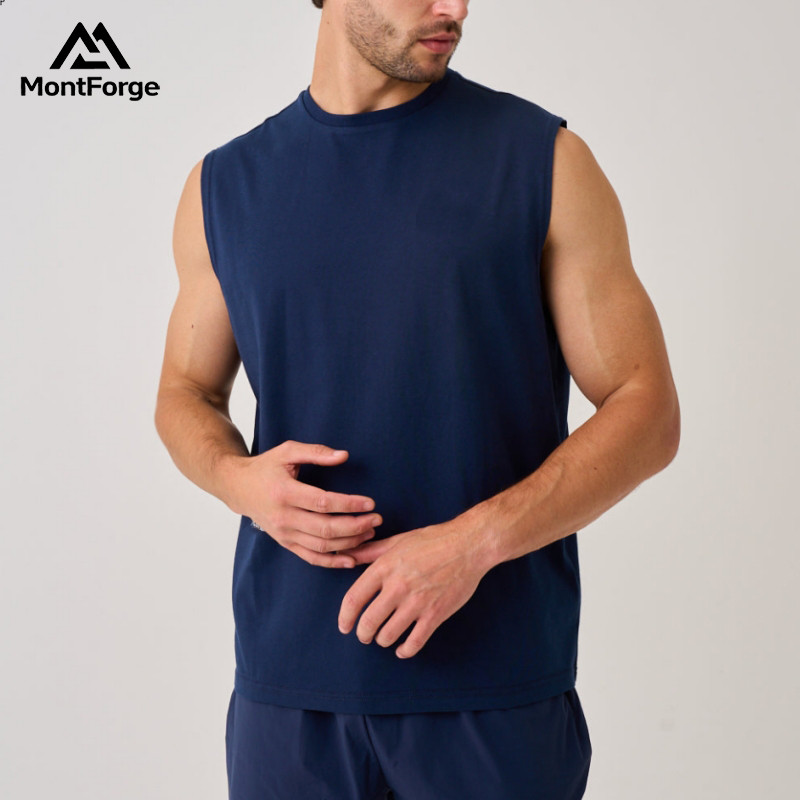
Define chest, shoulder or strap placement, armhole depth, body length and hem. For bodybuilding and gym use, check coverage during overhead movement and the relationship between the armhole and side seam.
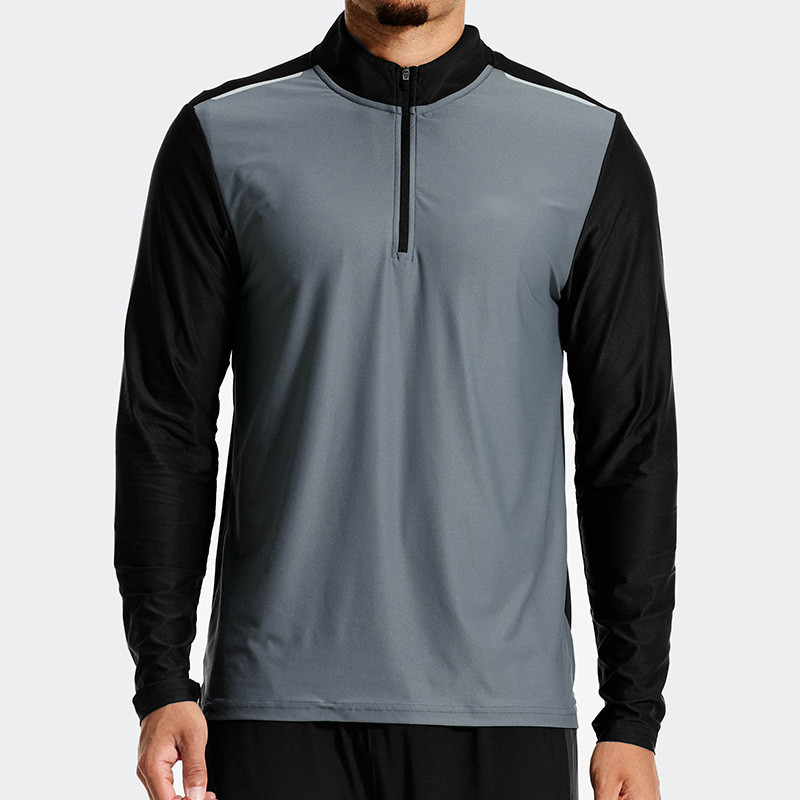
Long Sleeve & 1/4 Zips
Review sleeve length, cuff opening, shoulder mobility, collar height, centre-front length and layering room. The same garment may be worn as a training top or a lightweight outer layer, so define the intended layer position before setting measurements.
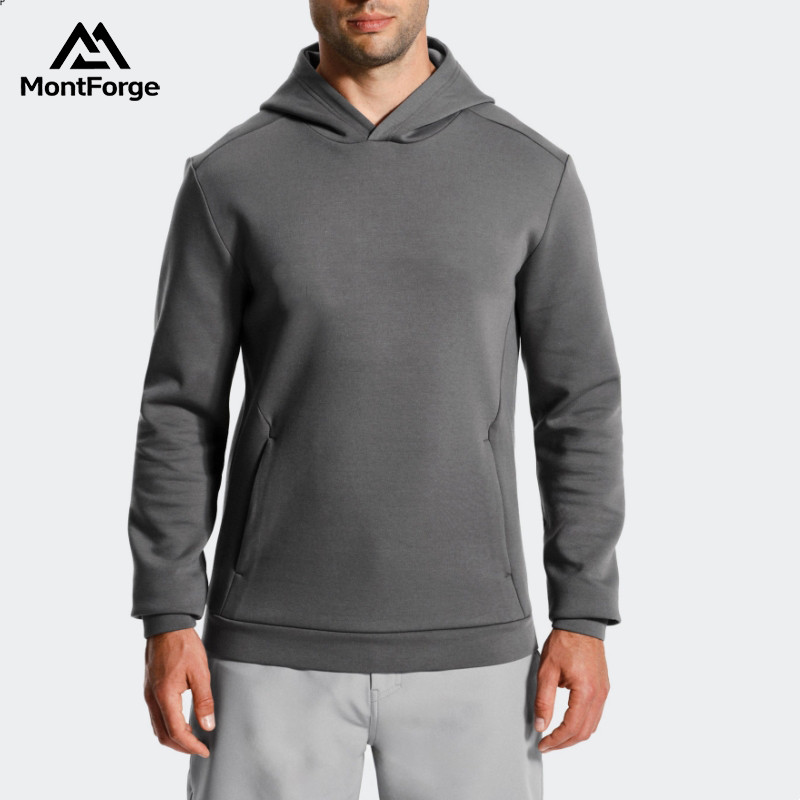
Hoodies
Measure chest, shoulder, sleeve, body length, hood opening, hood depth and hem. Relaxed Hoodies need enough volume for a base layer without creating excessive sleeve drag. Slim Hoodies need extra attention at the shoulder, upper arm and cuff.
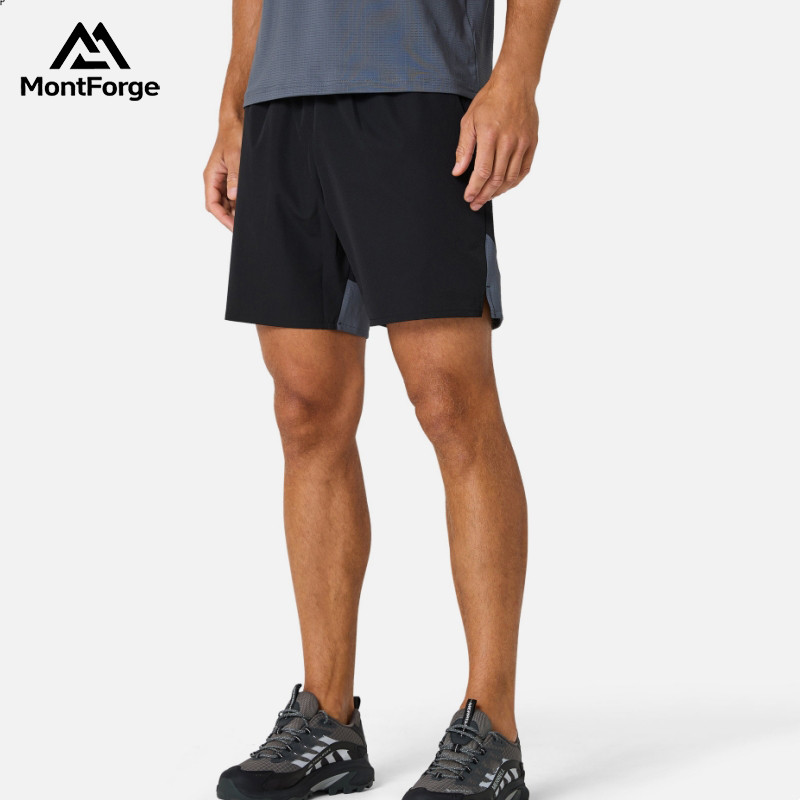
Shorts
Control waistband, hip, front and back rise, inseam, thigh, leg opening and pocket placement. Training Shorts should support deep squats and lateral movement; running shorts should minimise unnecessary swing while allowing stride and may require a liner specification.

Compression Tights
Develop waistband, hip, thigh, knee, calf, leg opening, inseam and gusset together. Test squat depth, running stride, knee flexion, waistband stability and opacity under stretch. A size chart should communicate the intended support level without making unverified medical or performance claims.
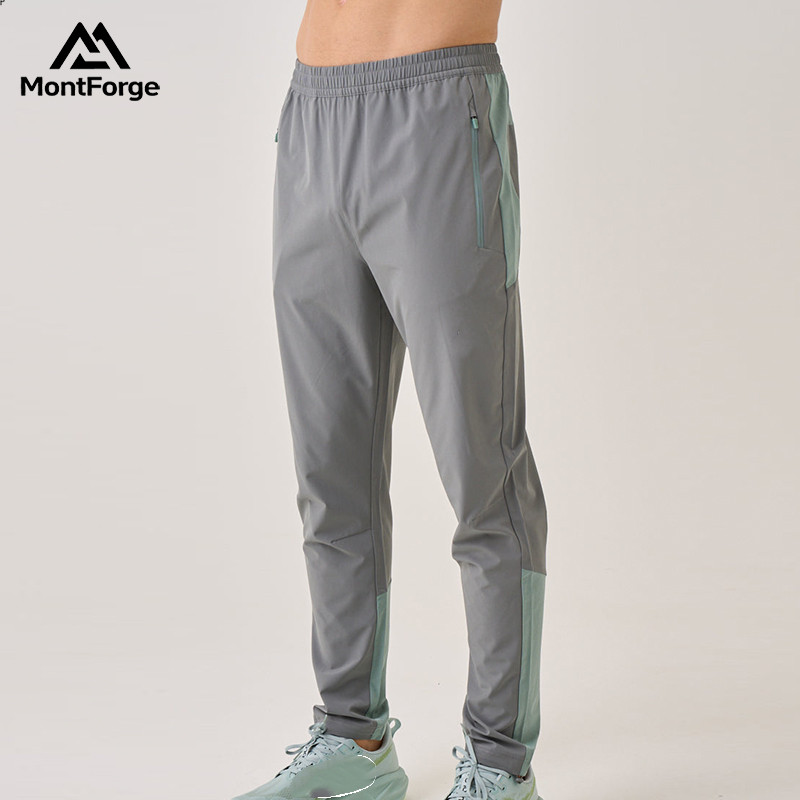
Joggers & Pants
Measure waist, hip, rise, thigh, knee, leg opening and inseam. Training Joggers often need a controlled taper and knee mobility; lifestyle or streetwear Pants may use a more relaxed leg and greater ease. Review pocket access and sitting comfort as well as standing fit.
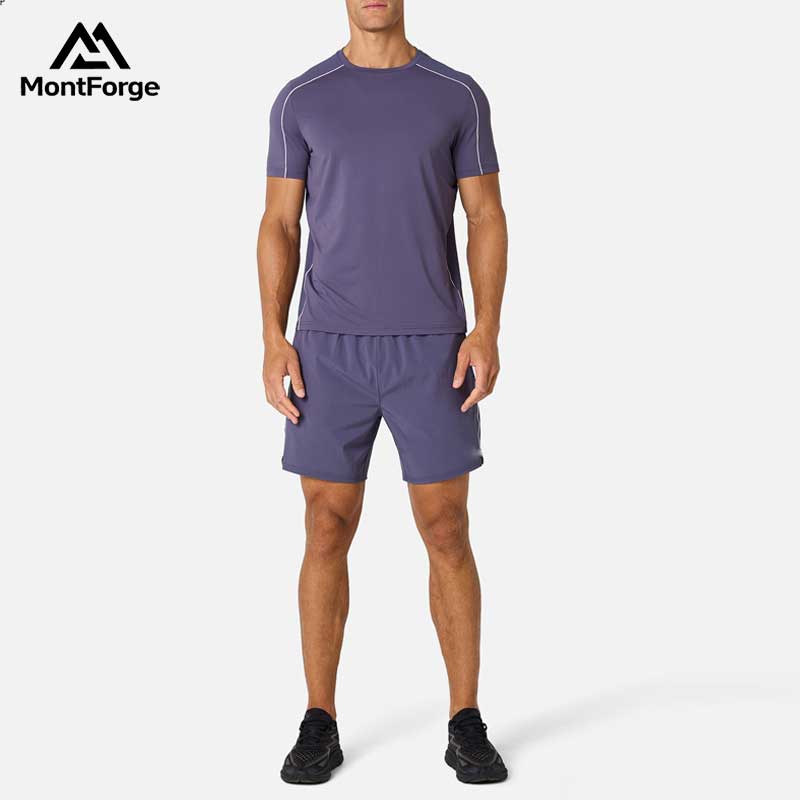
Training Sets
Coordinate the top and bottom measurement logic while allowing customers to accommodate different upper- and lower-body proportions. Consider split-size or separate-purchase options when the commercial model supports them.

Tracksuits & Sweatsuits
Set measurements for the full outfit, not isolated pieces. Check sleeve and trouser length, cuff tension, waistband comfort and the volume required over a T-Shirt or base layer. A consistent grade across the jacket and pants supports a coherent retail range.
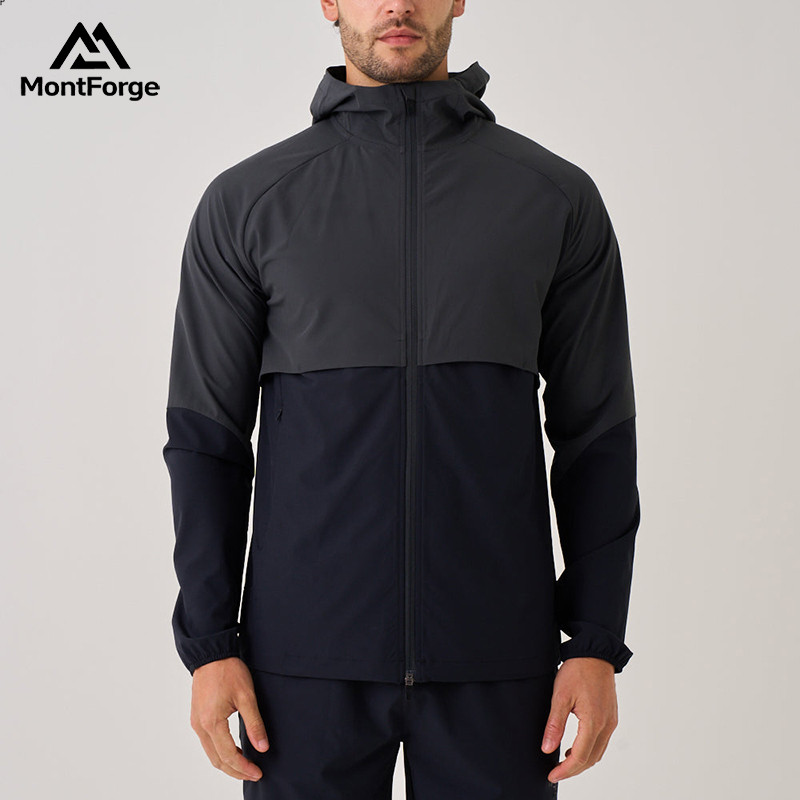
Windbreakers & Light Jackets
Define chest, armhole, sleeve, hem, hood or collar and pocket position with movement in mind. Running and outdoor versions may need room for a base layer, while a fashion-led light jacket may use a sharper silhouette. Validate the garment with the intended activity and a realistic layering combination.
Explore Windbreakers & Light Jackets →

Hardshell Jackets
Prioritise shoulder mobility, sleeve articulation, hood fit, cuff adjustment, hem coverage and space for technical layers. Fit testing should include reaching, backpack use and overhead movement. The outer shell needs to protect without restricting the wearer’s functional range.
Explore Hardshell Jackets →

Down Jackets
Account for the volume added by insulation, the intended base and mid layers, and the recovery of the filled garment after packing. Check shoulder, sleeve, hem, collar and hood positions after the jacket is fully constructed. Do not transfer an uninsulated shell’s measurements without reviewing the finished volume.
Explore Down Jackets →
How to Create a Sportswear Size Chart for Your Brand
A dependable activewear size chart is developed in stages. It starts with a commercial decision, becomes a technical specification, and is finally validated on real bodies and production samples.
Define the target market and wearer
Identify the countries or regions, gender and age range, body proportions, price position and intended customer. Record the primary activity: strength training, running, outdoor use, athleisure or teamwear.
Select the base size and range
Choose a base size that represents the development target, then define the commercial size range. Decide whether the line will use international labels, numeric sizing or market-specific labels. Avoid inheriting a supplier’s labels without checking the actual measurements.
Build the Body Measurement Chart
Standardise body points, measurement posture, units and instructions. Use a consistent source of data and review chest, waist, hip, height and length relationships rather than treating the body as a single scale.
Build the Garment Measurement Chart
Set finished measurements, ease, stretch assumptions and tolerances for each product. Record the measurement diagram and ensure the same point is measured the same way by the brand, sample room and factory quality team.
Validate through fit testing and grading
Review a first sample, consolidate fit comments, approve the base size, grade the pattern across the range and sew a size set. Confirm the result before bulk production and use the approved PPS as the production reference.
Sportswear Size Differences Across Target Markets
There is no universal “correct” S, M or L. Market-ready sportswear sizing depends on the body data, historical brand standard, fit expectation, garment category and sales channel of the target market.
Do not solve market differences by simply scaling every measurement up or down. A change in chest, for example, may need to be considered alongside waist, hip, shoulder, sleeve and height. The best approach is to document the target wearer and validate the pattern with representative fit testing.
| Market variable | Recommended approach |
|---|---|
| Size naming | Use the target market’s body and brand standards as the reference. Do not assume two “M” labels share the same garment measurements. |
| Body proportions | Review key proportions and adjust the relevant pattern points rather than applying a blanket increase to the entire garment. |
| Fit expectation | Define what Slim, Regular and Relaxed mean for the specific collection, then verify that meaning with sample wearers. |
| Units and labelling | Show centimetres and inches where relevant and keep the same measurement logic across product pages, labels, packaging and customer service. |
| E-commerce presentation | Publish measuring instructions, model height, model measurements, worn size and a clear fit note to reduce uncertainty at the point of purchase. |
For international B2B collections, treat the size chart as a controlled brand asset. When different suppliers or factories are involved, the brand’s approved measurement chart, pattern and tolerance should remain the source of truth.
MontForge Fit Development Process for B2B Brands
MontForge supports the path from design intent to production-ready sportswear. The fit conversation becomes more effective when every stage has a clear decision and a practical deliverable.
Requirement Review
Share the brand position, target customer, market, sport scenario, product category and desired Fit. MontForge can review an existing tech pack, reference garment, sketch or size chart as the starting point.
Pattern Making
Translate the design intent into a base pattern with documented key measurements and construction details. The pattern should reflect the chosen fabric, movement requirement and target market rather than only the appearance of a flat sketch.
Sample Development
Produce the first sample to check silhouette, construction, comfort and function. Use one consolidated set of comments for each revision so that changes are traceable and the development calendar stays controlled.
Fit Testing
Test static balance and movement: reach, squat, raise the arms, stride, bend, sit and layer where relevant. Record pull lines, ride-up, restriction, pressure, coverage and recovery instead of relying only on visual preference.
Size Grading
Once the base fit is approved, apply the grade rule across the range and sew a size set. Review whether proportion, mobility, garment balance and branding placement remain consistent from the smallest to the largest size.
Pre-Production Control
Confirm the graded measurement chart, approved pattern, tolerances, fabric and trims. The Pre-Production Sample becomes the reference for bulk production and quality inspection.
Fit and Sizing Considerations by Sport and Use Case
A garment can look correct in a studio and still fail in use. Fit testing should recreate the movement, layering and duration that the customer expects from the product.
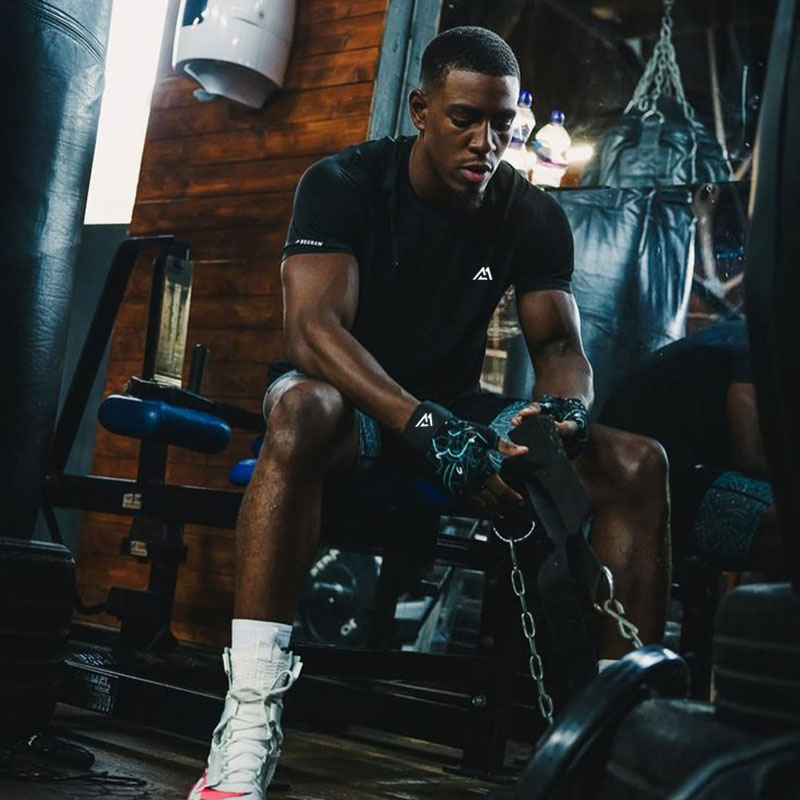
Gym & Strength Training
Evaluate squats, hip flexion, presses, pulls and large upper-body movement. Watch the underarm, upper back, rise, gusset, knee and waistband for restriction or unwanted movement. A training T-Shirt and a compression base layer should not share the same ease logic.
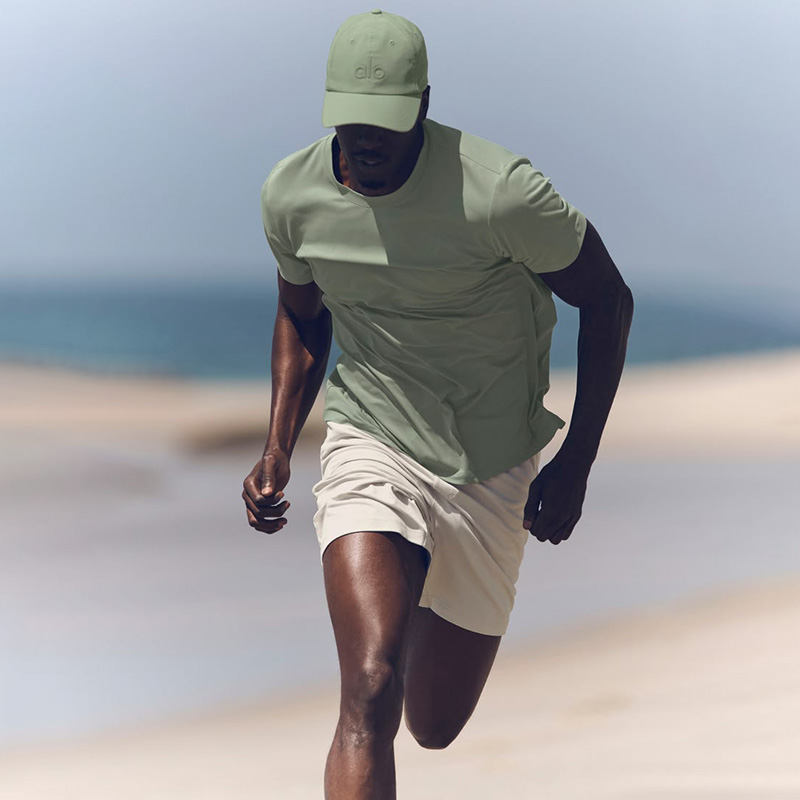
Running / Roadwork
Check arm swing, stride, sweat management and movement over time. Reduce unnecessary garment swing, verify that hems do not ride up, and consider how lightweight materials, ventilation and reflective details interact with the fit.

Outdoor Exploration
Test with the intended base and mid layers, backpack contact and changing temperatures. Hardshell Jackets, Windbreakers and Down Jackets need enough functional volume without losing protection or creating excess bulk.
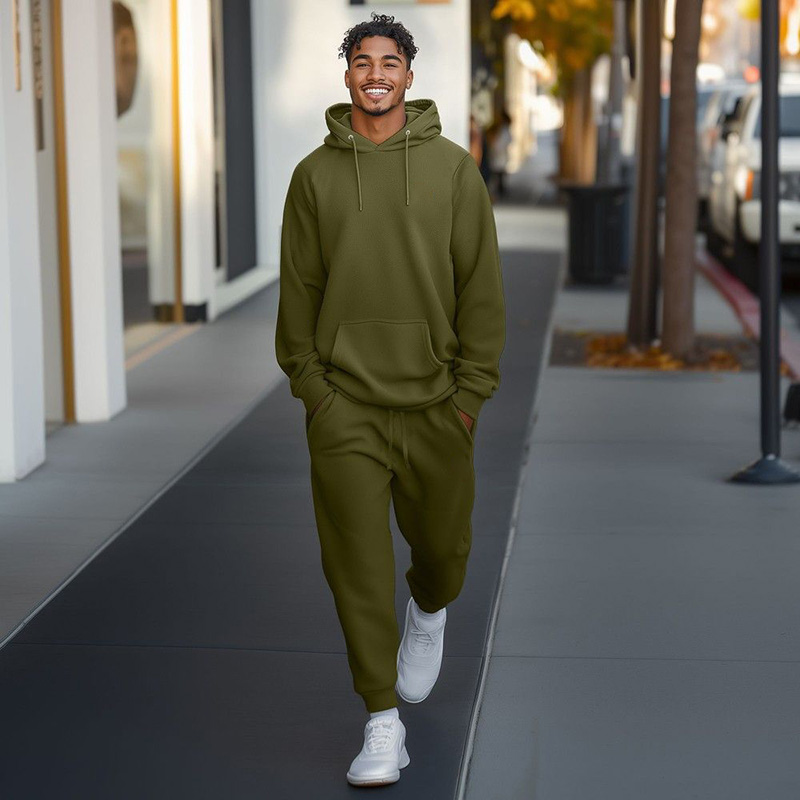
Athleisure / Streetwear
Balance athletic construction with everyday comfort and visual proportion. Relaxed Hoodies, Joggers and Tracksuits should support sitting, walking and layering as well as the collection’s intended streetwear silhouette.
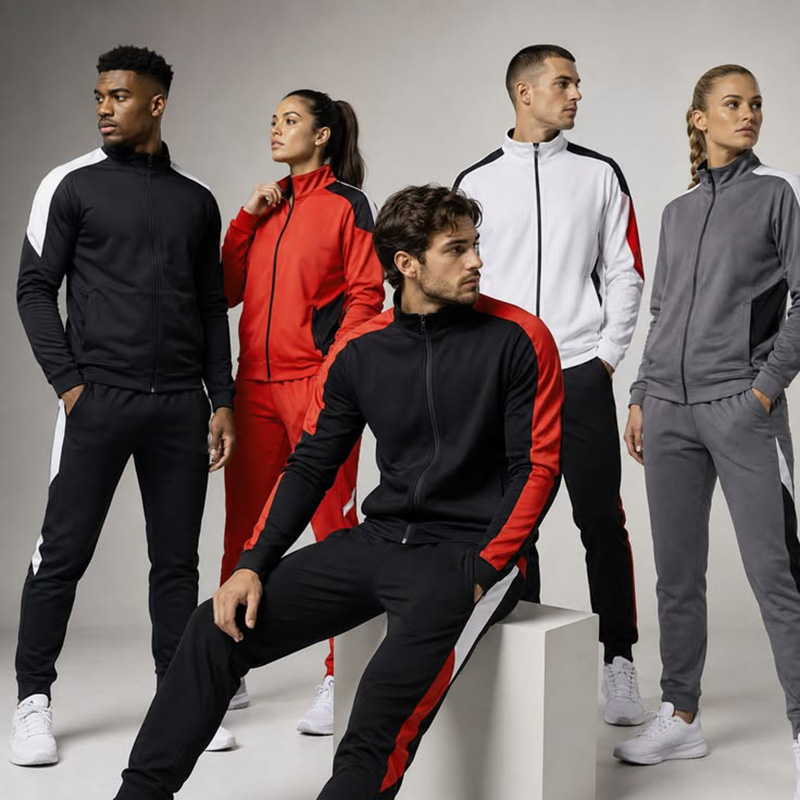
Teamwear / Clubwear
Prioritise consistency across many wearers and sizes. Confirm how logos, panels, prints and trims behave across the grade, and build a clear size distribution for the club, team or retail programme.
Common Sportswear Sizing Problems for B2B Buyers
A professional sportswear size guide should answer the commercial questions behind sizing: consistency, market fit, movement, grading, returns and scale.
| Customer problem | What to check | Relevant next step |
|---|---|---|
| Different suppliers use different size standards. | Separate body and garment measurements, define measurement points and establish a controlled brand chart with tolerances. | Submit an existing chart for review |
| A garment fits while standing but restricts movement. | Use activity-specific fit testing for reaching, squatting, running, stride and layering. | Discuss fit development |
| Compression products are too tight or move during training. | Develop pressure, stretch, recovery, gusset, waistband and pattern together. Do not rely on sizing down. | |
| Large sizes lose proportion after grading. | Use a considered grade rule, review a size set and check movement, balance and trim placement across the range. | |
| E-commerce returns are driven by uncertain fit. | Improve measuring instructions, model data, Fit descriptions and product-specific recommendations. | |
| A startup needs a focused first range. | Define a clear base size, focused size range and controlled development process before scaling categories or markets. | Discuss a private-label development plan |
Explore Products, Fabrics and Product Development
Sizing decisions are strongest when they are connected to the product and fabric decisions that created them. Explore related products and manufacturing support.
FAQ About Custom Sportswear Sizing
What is the difference between body measurements and garment measurements?
How should activewear fit?
How do I create a sportswear size chart?
Should compression tights be sized down?
Why does the same S or M fit differently between brands?
Can MontForge help with custom sportswear size grading?
How can better sizing support lower e-commerce returns?
Build a size system your customers and production team can trust.
Send MontForge your product category, target market, existing size chart, tech pack or reference sample. We can review the sizing logic and discuss the next step for pattern making, sample development, fit testing and size grading.